
It sounds simple, but wall thickness can make or break your product’s quality, appearance, and cost.
At LXG Injection Molding, we’ve seen how the right wall thickness turns an average design into a perfect production success — and how the wrong one can lead to warping, sink marks, or even tool failure.
So, let’s talk about the max wall thickness of plastic injection molded parts, minimum wall thickness, and everything in between — in plain language.
Instant pricing & DFM
Guidance from automotive molding experts
Tight tolerances, complex geometries, and multi-material capabilities
Proven expertise with 3,000+ molds delivered worldwide
Why Wall Thickness Matters in Injection Molding
Imagine baking a cake that’s too thick in the middle and thin on the edges. The center takes forever to cook, and the edges burn.
That’s what happens in injection molding too.
When molten plastic flows into the mold, it needs to fill every cavity evenly. If your wall thickness varies too much, you’ll end up with:
Warping or distortion — uneven cooling makes parts twist or bend
Sink marks — surface dips due to thick sections cooling slower
Short shots — incomplete fills because the resin can’t flow properly
Excess cost — thicker walls mean more material, longer cooling, higher cost
At LXG Injection Molding, our design engineers always start with one principle:
✅ Keep the wall thickness as uniform as possible throughout the part.
This ensures balanced flow, consistent cooling, and flawless aesthetics.
Understanding the Ideal Wall Thickness
There’s no one-size-fits-all answer, because the ideal wall thickness depends on several factors:
Material type (ABS, PP, PC, Nylon, etc.)
Part size and shape
End-use environment (temperature, load, UV exposure)
Aesthetic and mechanical requirements
That said, let’s look at some general industry ranges.
| Material | Recommended Wall Thickness (inches) | Recommended Wall Thickness (mm) |
|---|---|---|
| ABS | 0.045 – 0.140 | 1.1 – 3.5 mm |
| Polypropylene (PP) | 0.025 – 0.150 | 0.6 – 3.8 mm |
| Polycarbonate (PC) | 0.040 – 0.150 | 1.0 – 3.8 mm |
| Nylon (PA) | 0.030 – 0.115 | 0.8 – 2.9 mm |
| Acrylic (PMMA) | 0.025 – 0.125 | 0.6 – 3.2 mm |
| Polyethylene (PE) | 0.030 – 0.200 | 0.8 – 5.0 mm |
These are typical guidelines we use at LXG Injection Molding when advising customers.
Minimum Wall Thickness for Plastic Injection Molded Parts
Let’s start with the lower limit.
The minimum wall thickness for plastic injection molded parts determines how thin you can go before running into issues like:
Poor filling (plastic cools before reaching all areas)
Weak structural strength
Warping during ejection
For most materials, 0.040 inches (1.0 mm) is a safe lower limit.
But if you’re using high-flow materials like polypropylene or nylon, we can sometimes go as thin as 0.025 inches (0.6 mm) — depending on part geometry and gate placement.
At LXG Injection Molding, we often use flow simulation software to verify whether thin-walled parts will fill completely before finalizing tool design.
👉 So yes, thin is possible — but it needs engineering expertise.
Maximum Wall Thickness of Plastic Injection Molded Parts
Now let’s look at the other end: thick parts injection molds.
You might think thicker is safer — but in molding, too thick can be a problem.
When wall sections are too thick, the molten plastic takes longer to cool, leading to:
Sink marks — depressions on the surface
Internal voids — air pockets trapped during cooling
Uneven shrinkage — leading to warping
Extended cycle times — every extra second adds to cost
The max wall thickness of plastic injection molded parts typically ranges from 0.120 to 0.200 inches (3 to 5 mm) for most thermoplastics.
However, if you truly need thicker sections (for strength or functionality), our engineers at LXG Injection Molding can modify the design using techniques like:
Ribs and gussets — to strengthen without bulk
Core-outs — removing unnecessary material inside thick sections
Multi-shot molding — combining rigid and flexible materials
These strategies help achieve strength without excessive wall thickness.
Design Tips: Balancing Thin and Thick Walls
Consistency is king.
Whether your part is 0.040” thin or 0.180” thick, uniform wall thickness keeps everything stable.
Here’s what we recommend to our clients:
Keep wall thickness uniform across the design to prevent uneven cooling.
Add ribs or gussets for strength instead of thicker walls.
Avoid abrupt transitions — use gentle tapers or fillets.
Use draft angles for easier ejection from the mold.
Simulate before you mold — we run Moldflow simulations for every project.
At LXG Injection Molding, we help customers tweak designs to meet both performance and manufacturability goals.
Thick Parts Injection Mold — When and How to Use It
Sometimes, thick parts are unavoidable — like heavy-duty housings, brackets, or structural components.
For these applications, we use specialized thick parts injection molds with:
Enhanced cooling channels
Balanced gating to ensure even fill
High-temperature resistant steels
Controlled pressure and packing cycles
This helps prevent voids and sink marks even in walls over 0.250 inches (6.4 mm).
So yes — thick parts injection mold manufacturing is absolutely possible when done right.
At LXG, our engineers often combine rapid tooling and advanced cooling design to handle complex thick-wall parts efficiently.
Material Selection and Its Impact on Wall Thickness
Different materials behave differently when flowing and cooling.
ABS – Stable and easy to mold; works best between 1.1–3.5 mm.
Polycarbonate (PC) – Strong but thicker walls (up to 3.8 mm) reduce stress.
Nylon (PA) – Great for mechanical strength; can go thinner with good flow.
PP and PE – Ideal for thin-wall applications like packaging.
Glass-filled materials – Need thicker walls (around 2.5–4.0 mm) to avoid fiber breakage.
Our LXG Mold Tooling engineers always match material to your part geometry for optimal wall performance.
Common Design Mistakes (and How to Avoid Them)
We’ve helped thousands of customers fix issues caused by incorrect wall thickness. Here are the top offenders:
❌ Thick bosses or ribs — cause sink marks and internal voids
✅ Solution: Core them out or reduce thickness to 50–60% of wall thickness.
❌ Abrupt changes in wall thickness — cause stress and warping
✅ Solution: Transition gradually with fillets and tapers.
❌ Ignoring flow direction — can lead to trapped air and short shots
✅ Solution: Align wall thickness and gates to support smooth flow.
❌ Overengineering — thicker doesn’t always mean stronger
✅ Solution: Use reinforcing ribs instead of bulk material.
At LXG Injection Molding, we review every design through DFM (Design for Manufacturability) to ensure your walls, ribs, and bosses are perfectly balanced.
Real-World Example: Optimizing Wall Thickness for a Client
A recent automotive client came to us with housing parts that had 5.5 mm thick walls. The parts were warping and developing surface sink marks.
We redesigned the tool, reducing wall thickness to 3.2 mm and adding internal ribs for strength. The results:
✅ 30% faster cycle time
✅ 22% material savings
✅ Zero surface defects
That’s the power of smart wall thickness management.
How LXG Injection Molding Helps You Get It Right
At LXG Injection Molding, we specialize in turning design challenges into manufacturing success stories.
Our services include:
Design for Manufacturability (DFM) reviews
Rapid tooling and prototype molding
Material flow simulation
Custom mold manufacturing
Full-scale production with ISO-certified QC
We’ve delivered 3,000+ molds to 40+ countries, supporting industries like:
Automotive
Aerospace
Medical devices
Industrial equipment
Consumer electronics
Whether you’re making a thin-walled enclosure or a thick mechanical component, our team ensures every wall is optimized for performance and cost.
Key Takeaways
The minimum wall thickness for plastic injection molded parts is typically 0.025–0.040 inches (0.6–1.0 mm).
The maximum wall thickness is around 0.120–0.200 inches (3–5 mm), depending on the resin and part design.
Thick parts injection mold techniques can be used for walls up to 6.5 mm when engineered correctly.
Uniformity and gradual transitions are key to avoiding defects.
Always run flow analysis and DFM reviews before tooling begins.
Ready to Order? Let’s Design It Right.
Whether you’re developing a prototype or preparing for large-scale production, LXG Injection Molding is here to help you achieve perfect wall thickness, strong parts, and cost-effective manufacturing.
👉 Visit LXGInjectionMolding.com
Request your instant quote today and talk to our expert engineers about your next injection molding project.
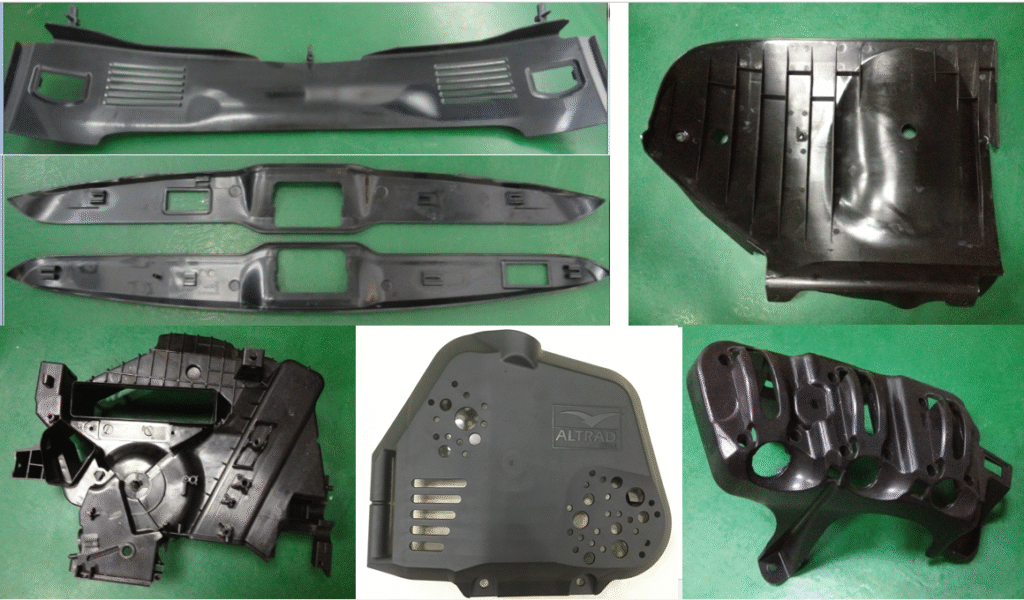
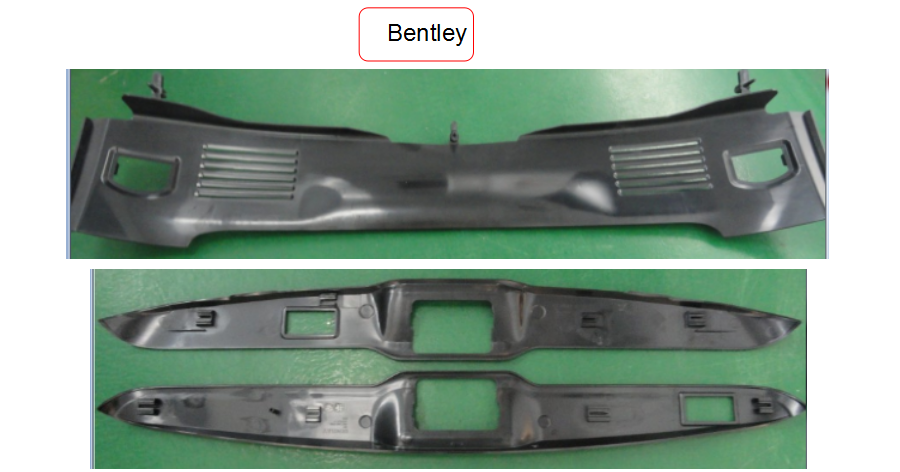
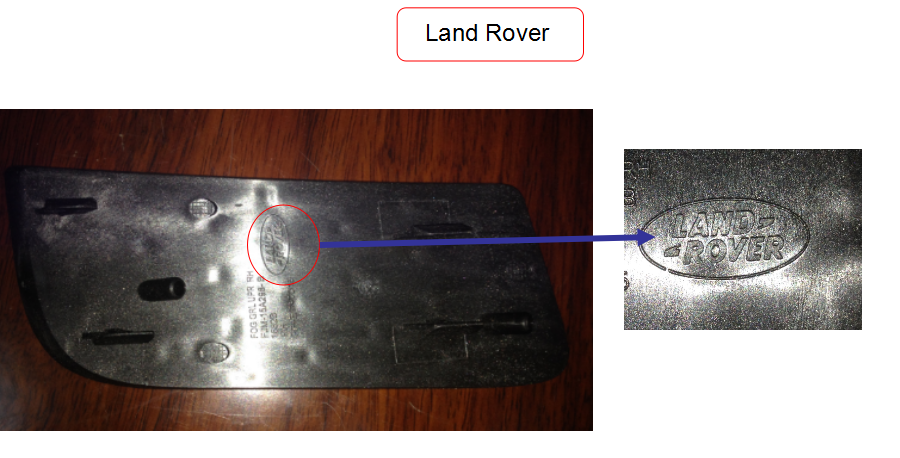
Our Work
Get Instant Price, Projects lead time and DFM Feedback
Our Partners